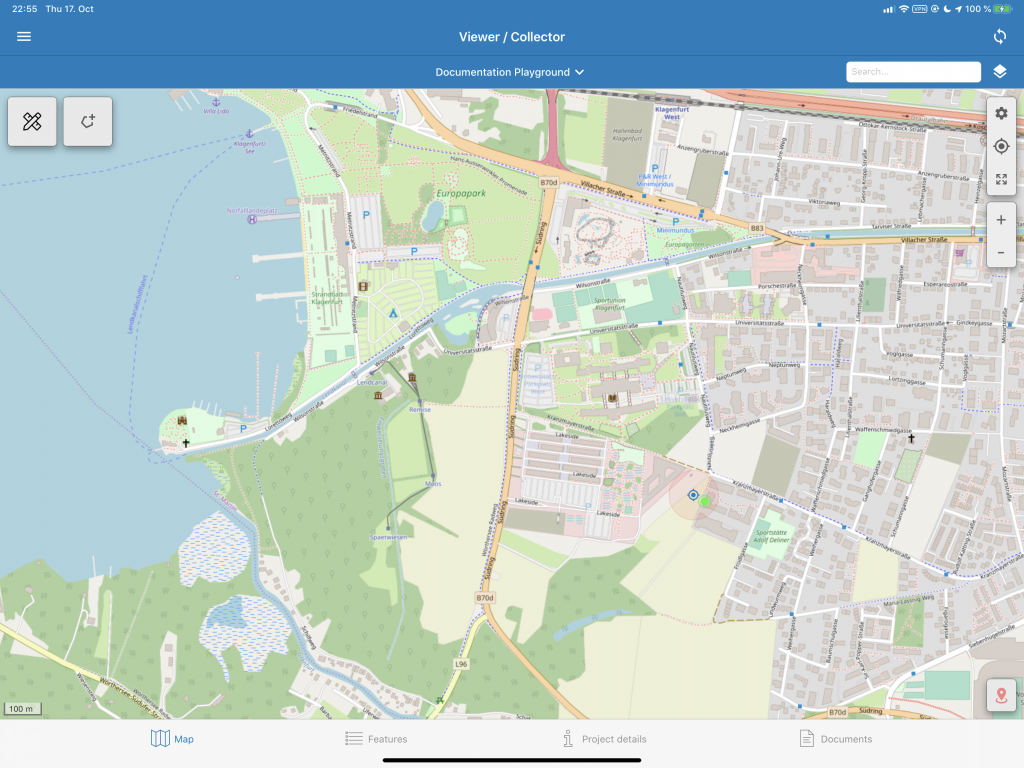
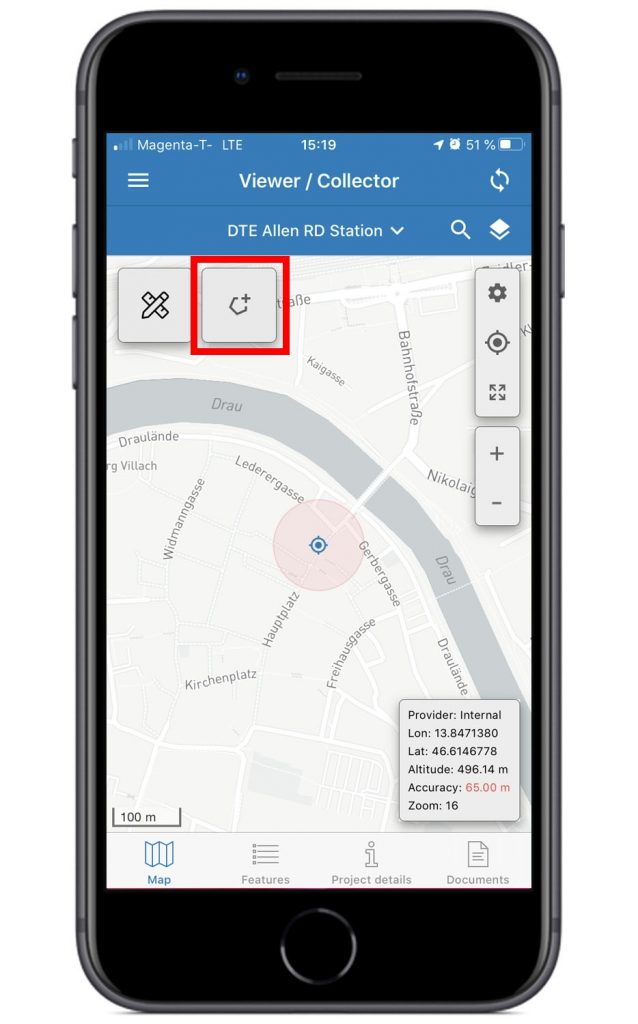
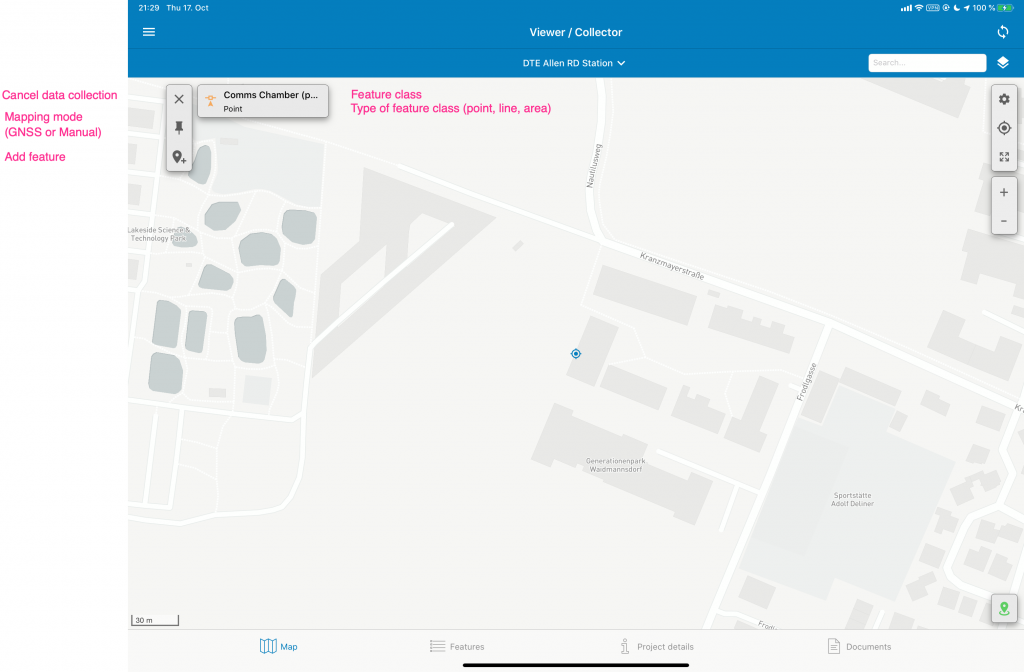
To map / survey an object, click on the data collection button.
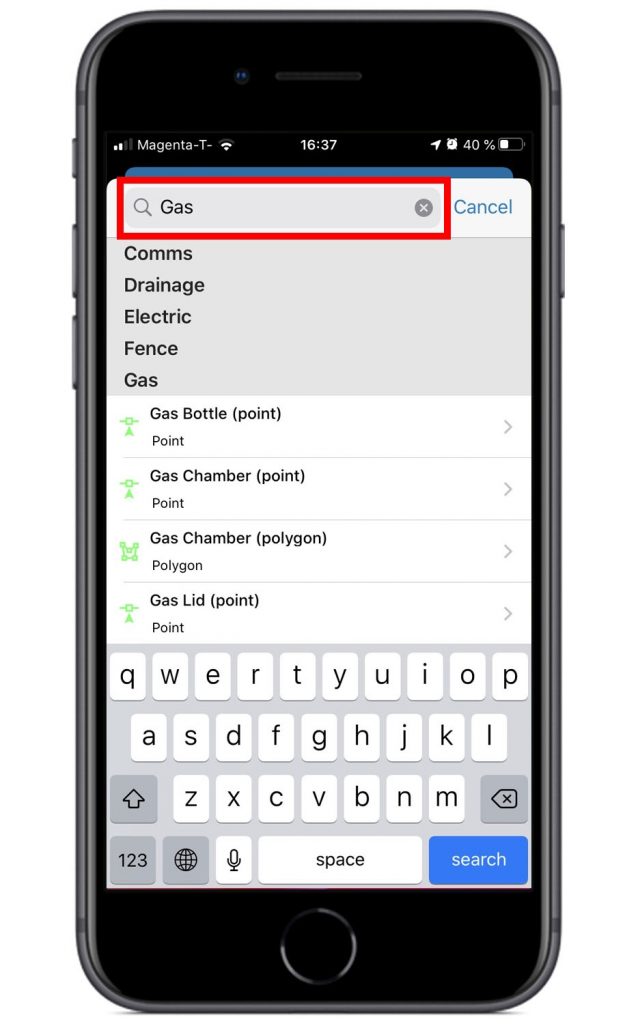
1. Feature class chooser
Choose a feature class from the list.
The feature classes are group by the category name. Feature classes are pre-defined in the web app. They cannot be added in the field in order to ensure the same type of data on all mobile devices / with all field users.
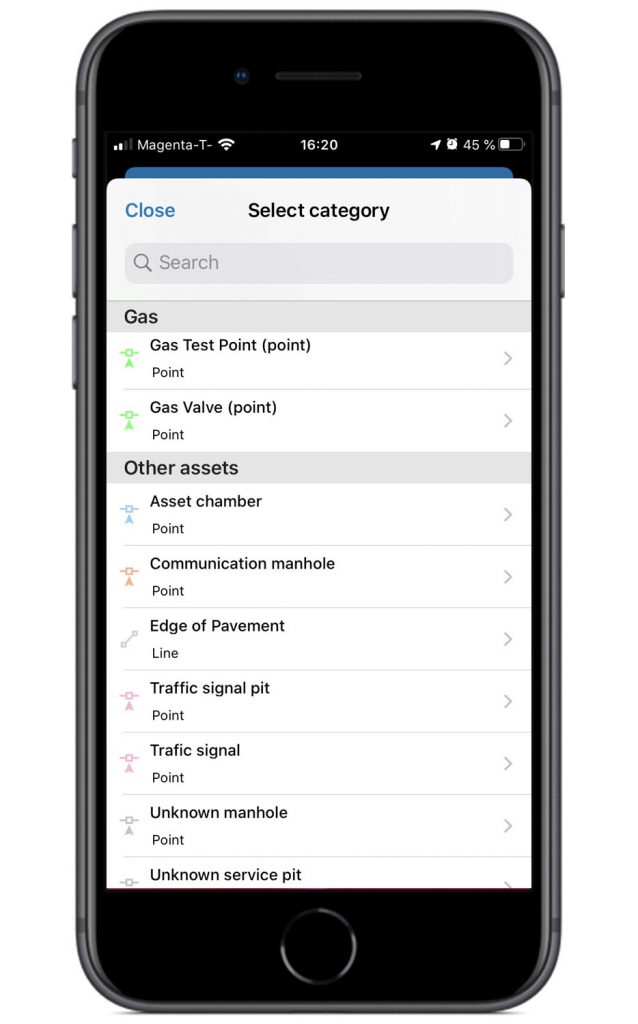
The Search area allows to search for a certain class or category.
2. Data collection mode
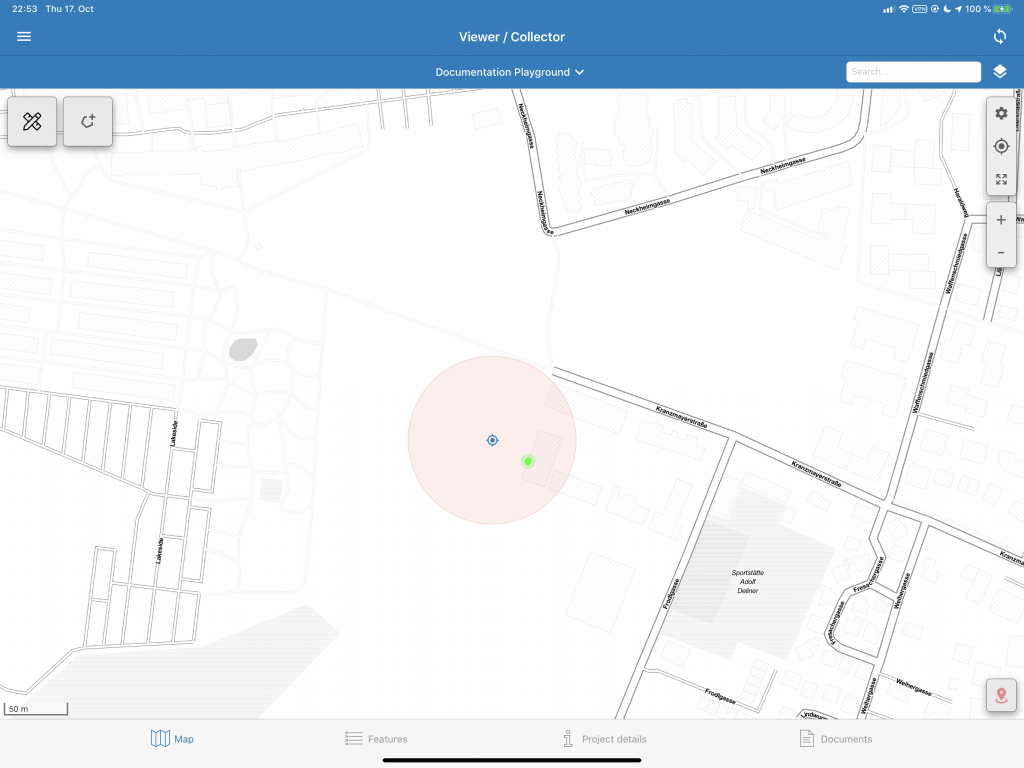
After chosing a feature class, the software shows the feature class which can be “collected” (mapped/surveyed). It shows the feature type (point, line, polygon) and color of the type. Click on the 2nd icon to switch between manual and GNSS mode.
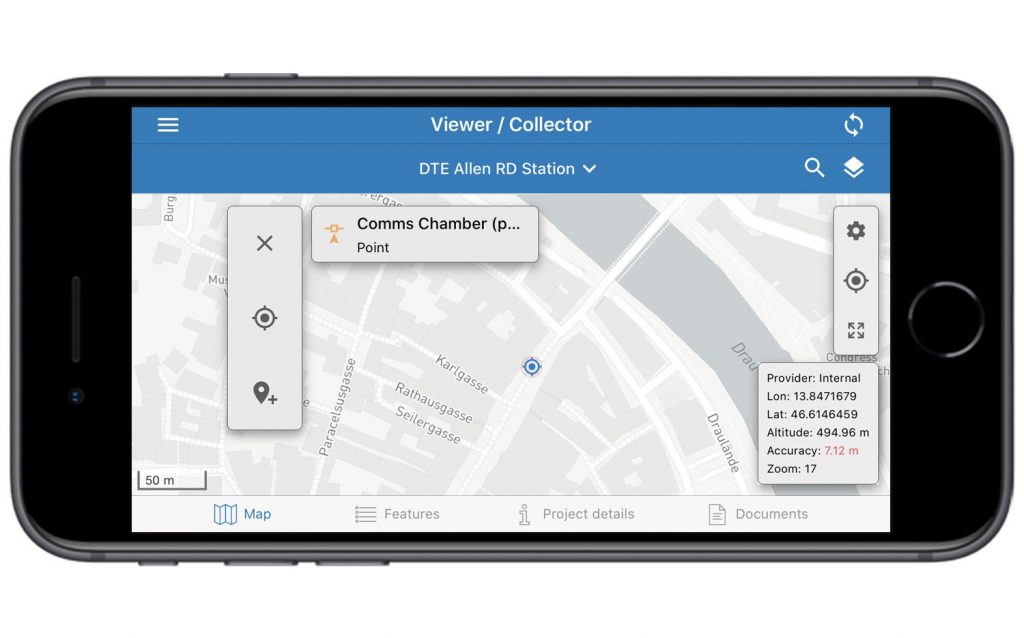
This screenshot shows the “GNSS” data collection mode.
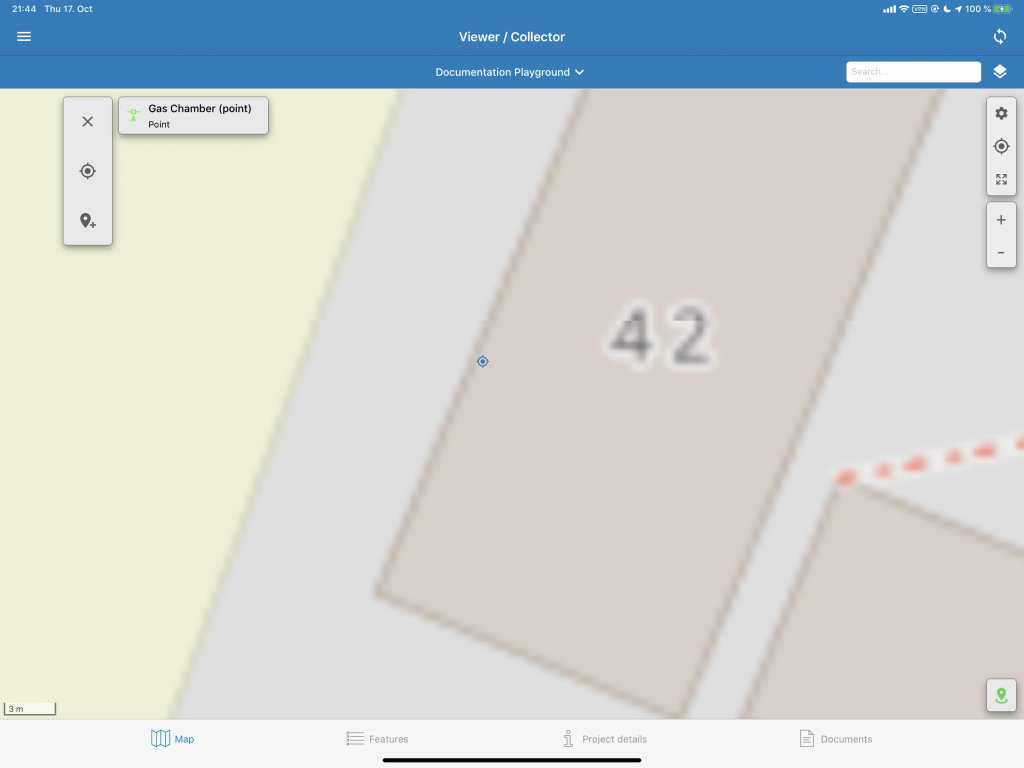
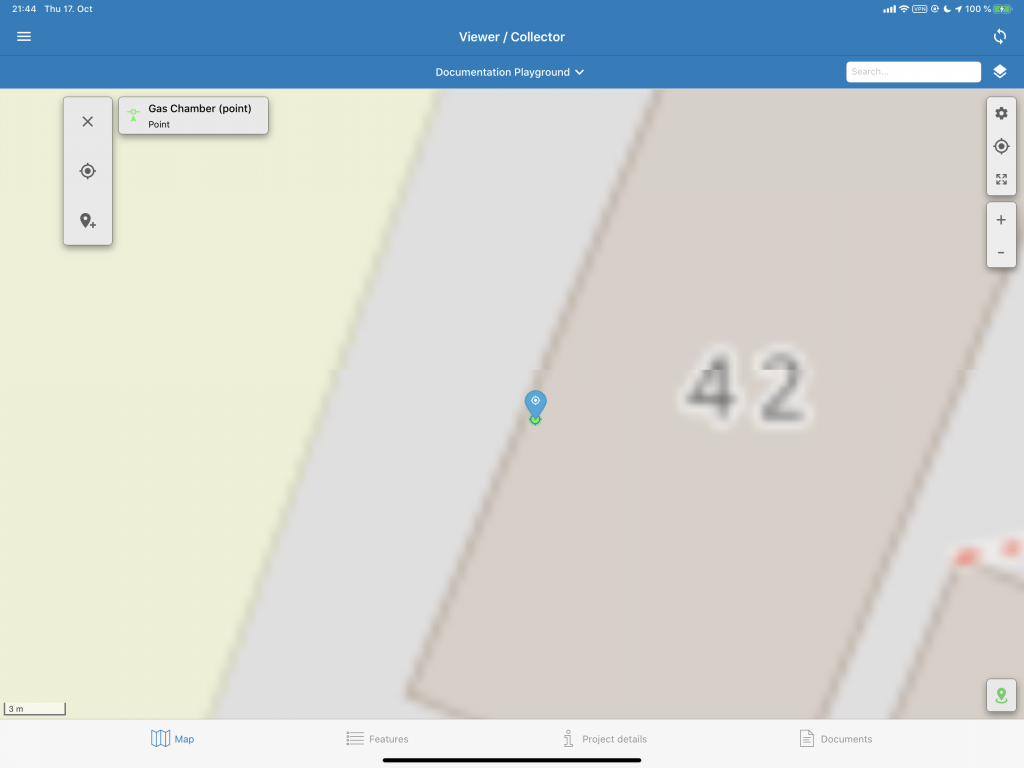
3. Map the feature
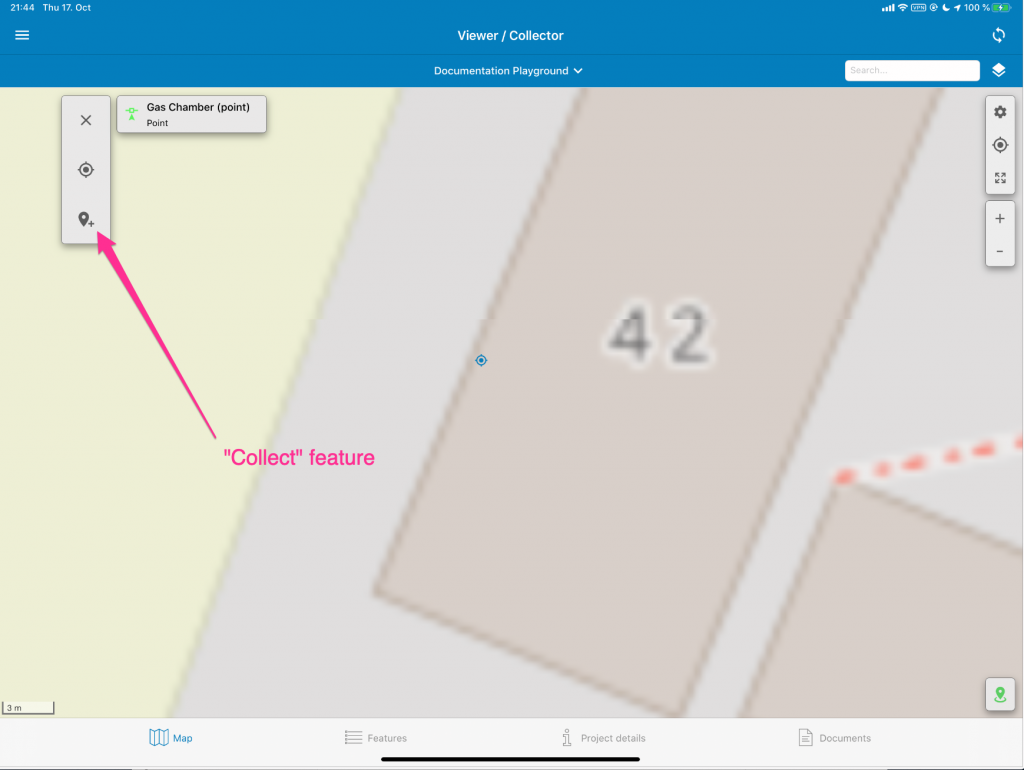
Click on the “Place” function to map (survey) the object or node of a polygon or line.
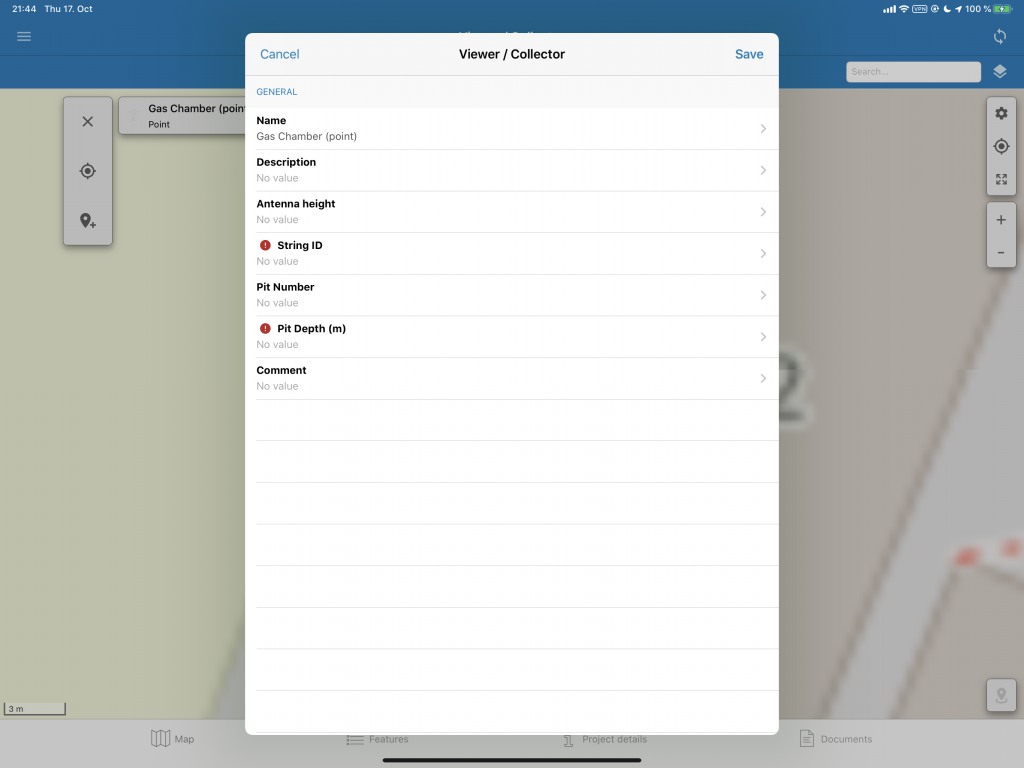
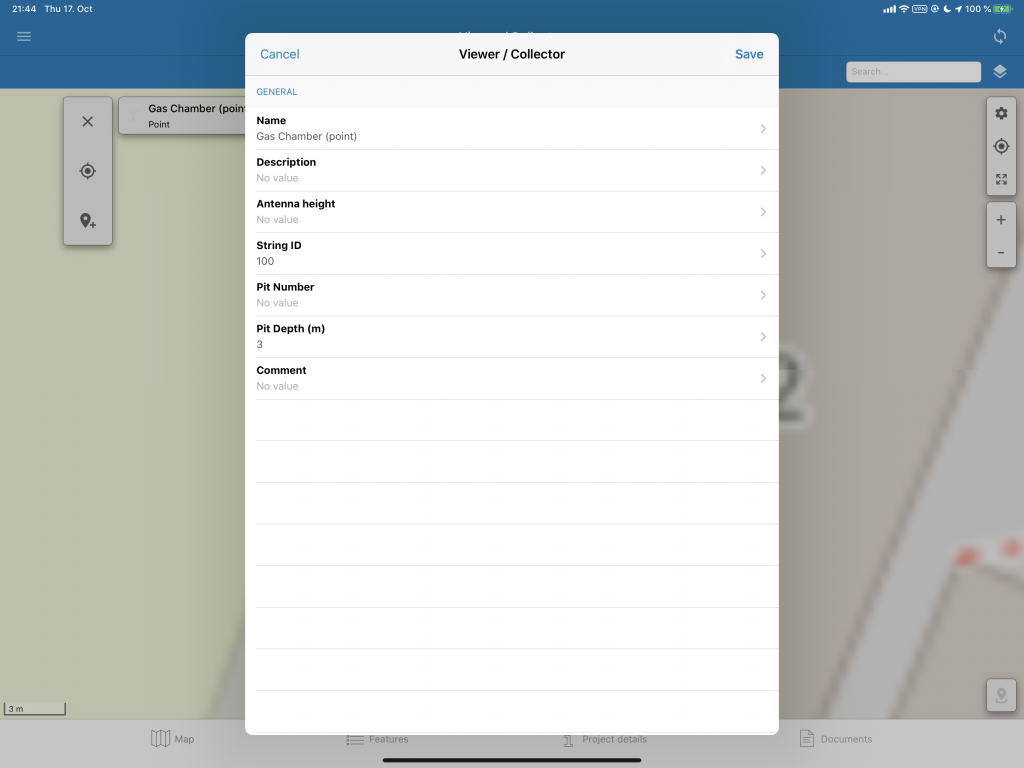
When the feature is configured with mandatory attributes, these have to be entered/chosen.
Mandatory attributes are marked with a red indicator!
This is done in the attribute screen.
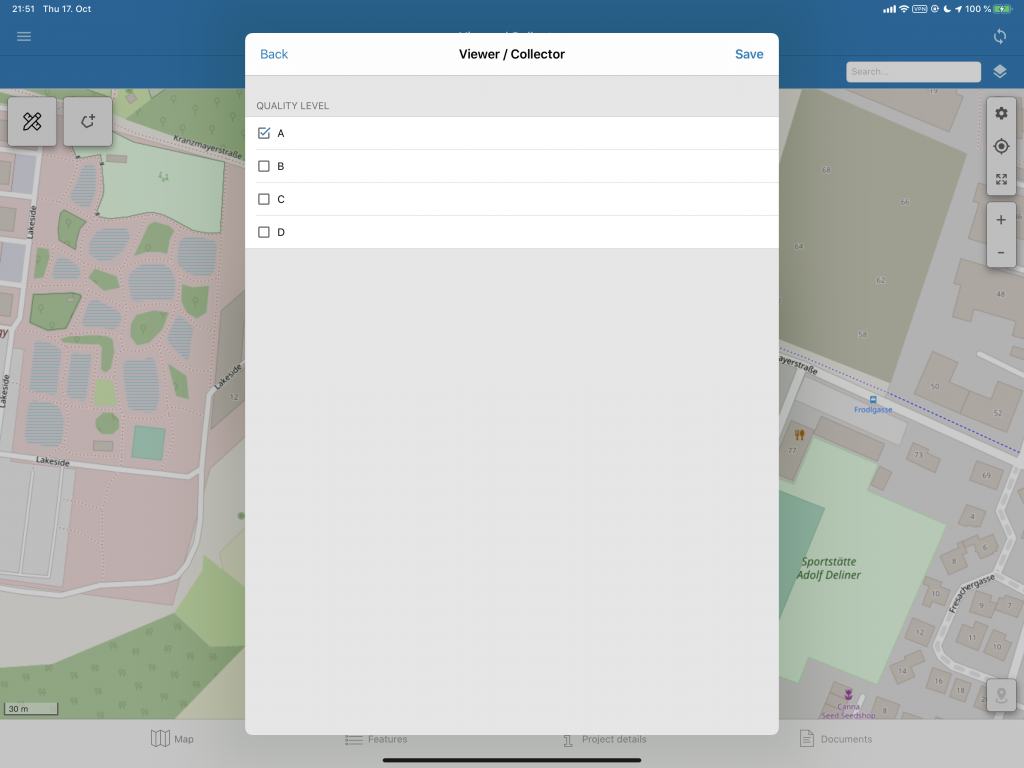
When clicking on list type attribute, it shows the available options. Click on ne to chose it.
Click on save to remember the option.
4. Feature is mapped
When the feature was added, it shows the object directly on the map.
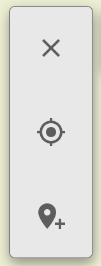
You can add another one by clicking on the “+”-Button.
Cancel with the first button.
5. Collecting line or polygon features

After adding the first node, the software shows a virtual marker to the last collected node.
Click “+” to add the next node.
Click on “Checkmark” to save the line / polygon.

This screenshot shows the line feature. Data collection of the “Power line” is still active.
Click on the “Edit geometry” button.

Click on the “Bin” to delete a feature.
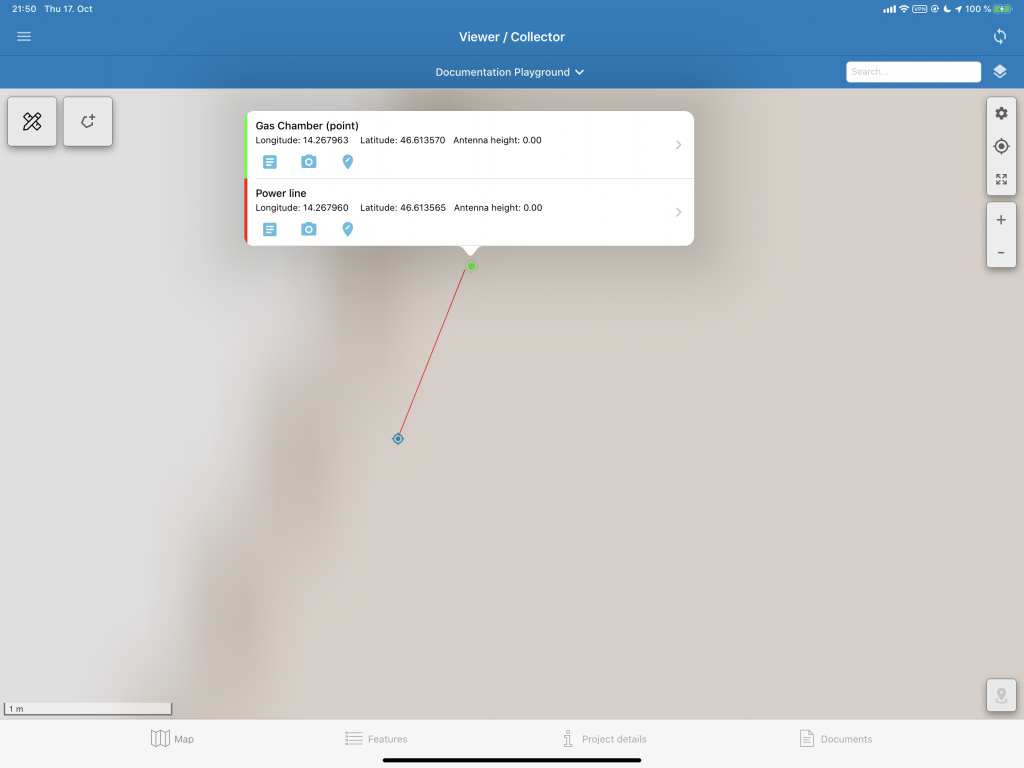
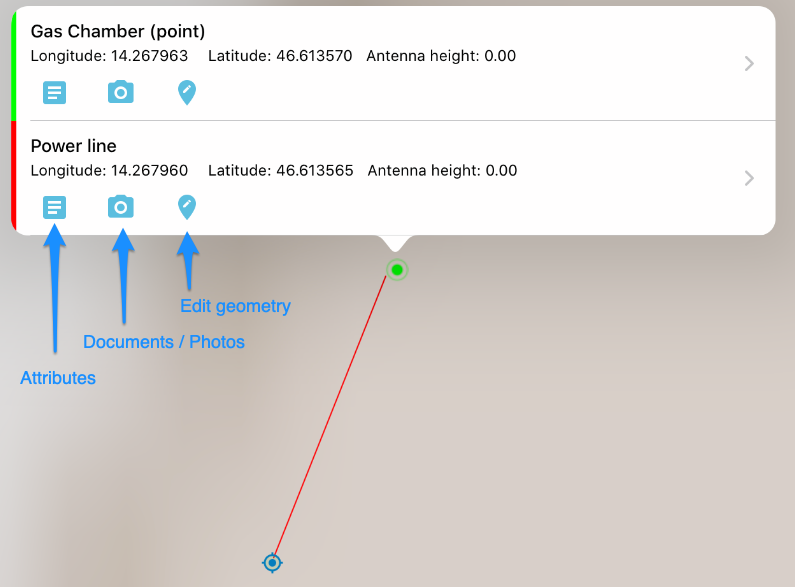
Click on the feature in the map area to open the dialog.
If more then one feature is close by, it shows a feature selector.
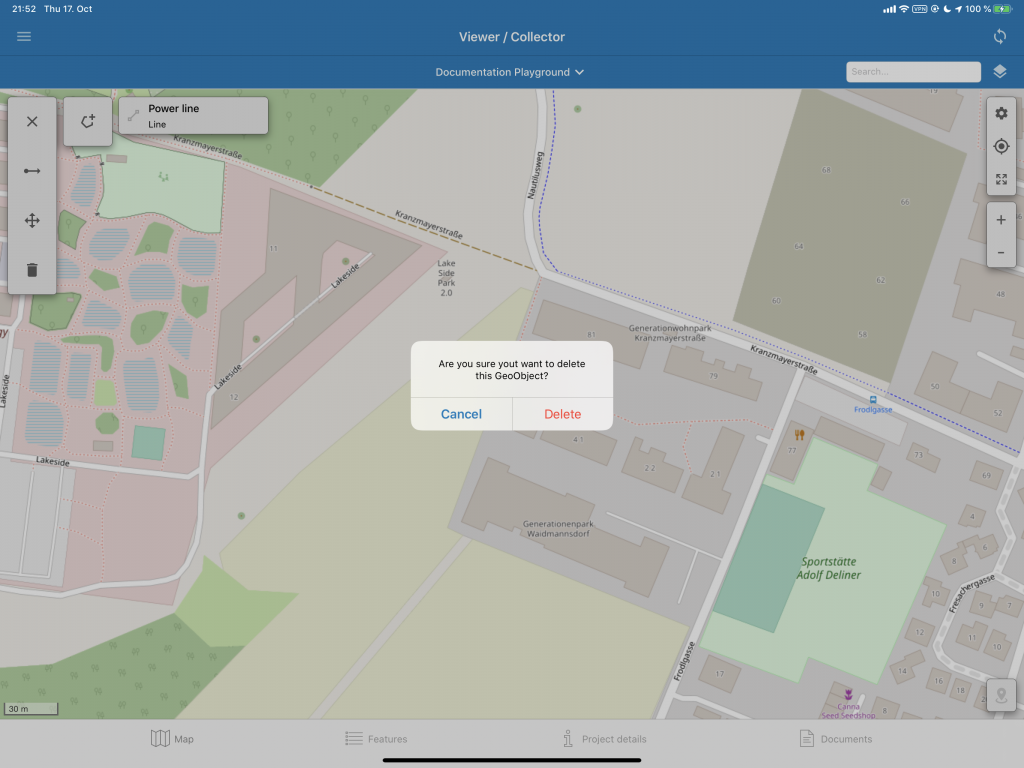
A dialog asking to continue to Delete the feature or to cancel appears.
8. Adding / editing documents
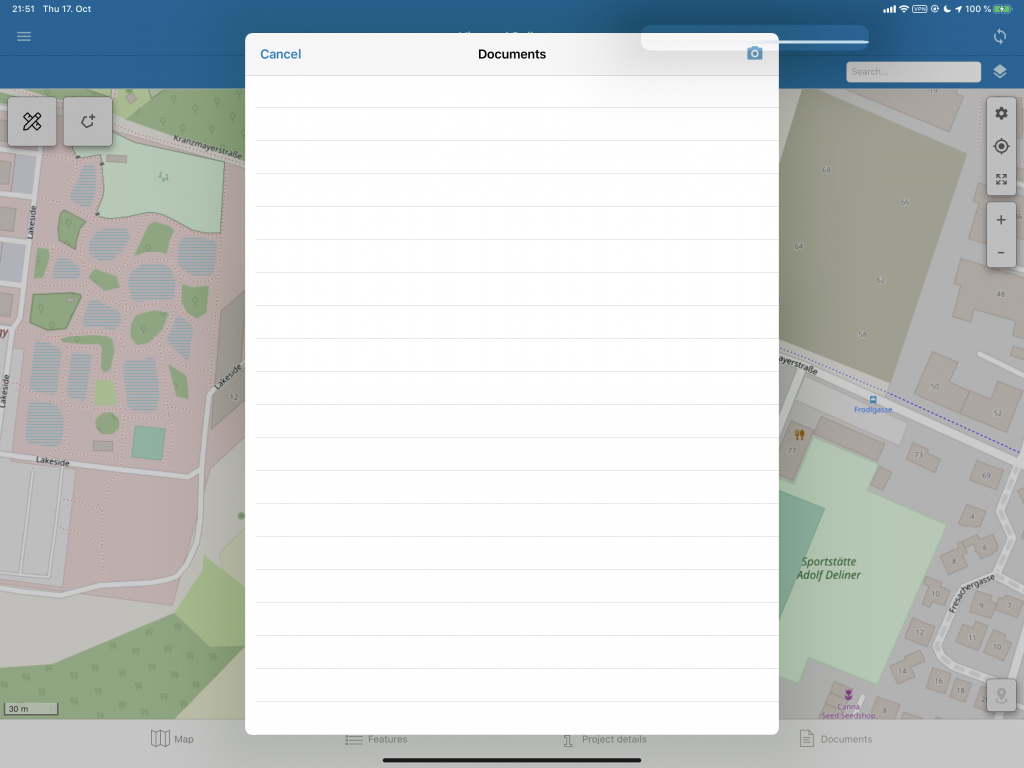
In the Documents dialog the photos and/or documents added to a feature are listed.
Click on the “Photo” icon to add a new one.
GNSS Accuracy info / blocker
|
Icon |
Description |
|---|---|
 |
Green indicates that mapping is allowed. |
|
|
Orange indicates that the app will ask if the accuracy is OK. It can be decided onsite. |
 |
Red indicates that mapping is not allowed! |
Settings
Click on the settings dialog to open the Collector settings.
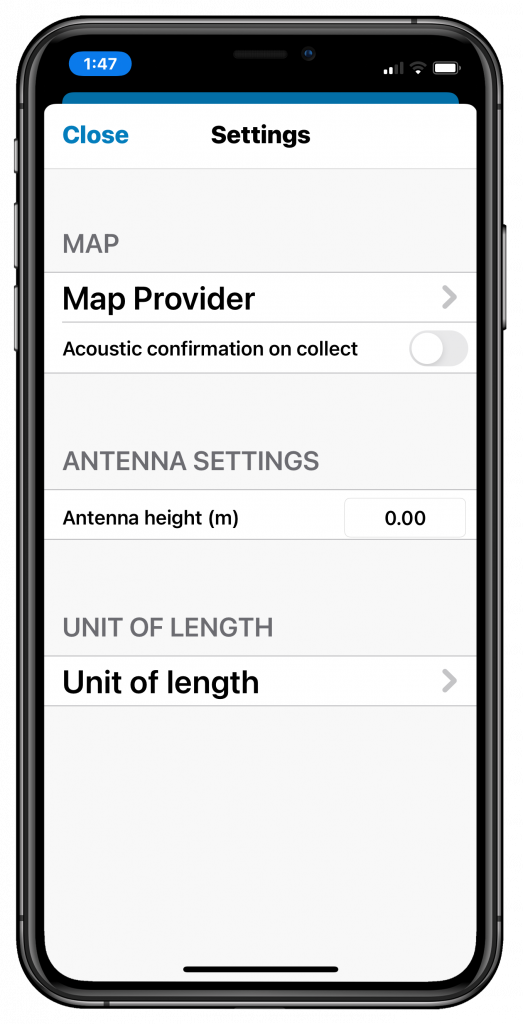
The Settings dialog allows to configure the app. Settings are stored and restored after restarting the app.
Tile provider
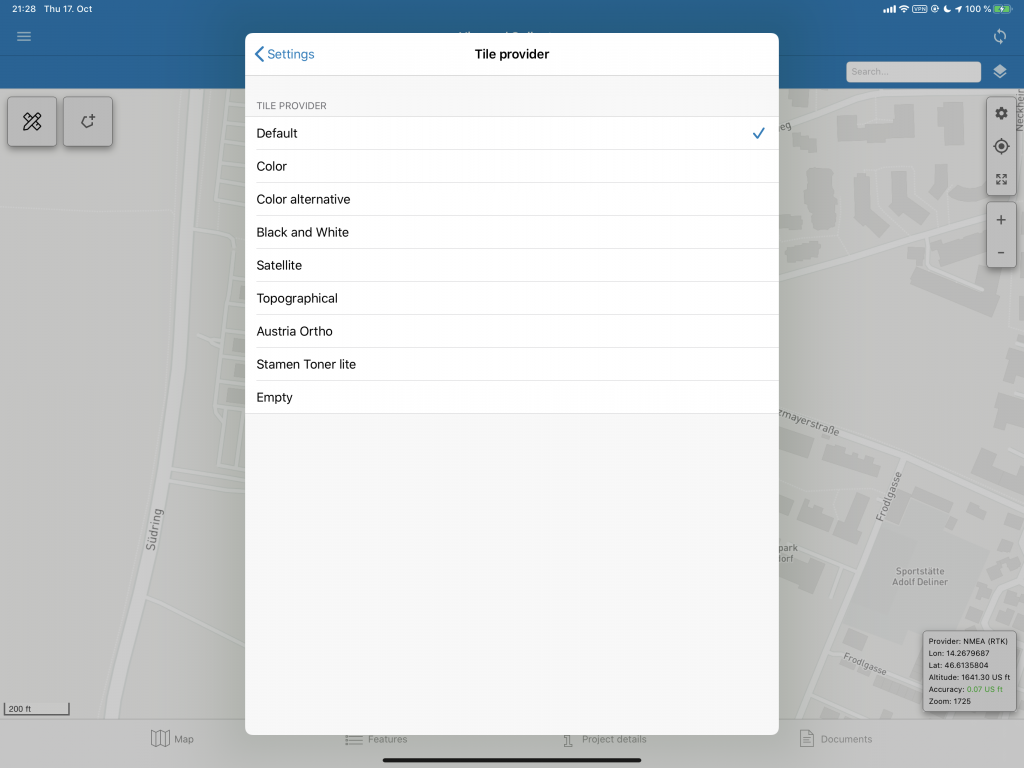
Choose one of the Tile-Providers to set the background map option.
Various tile providers